
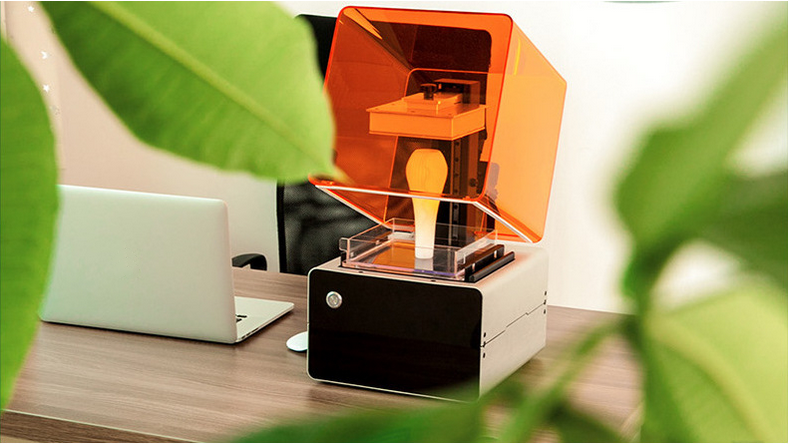
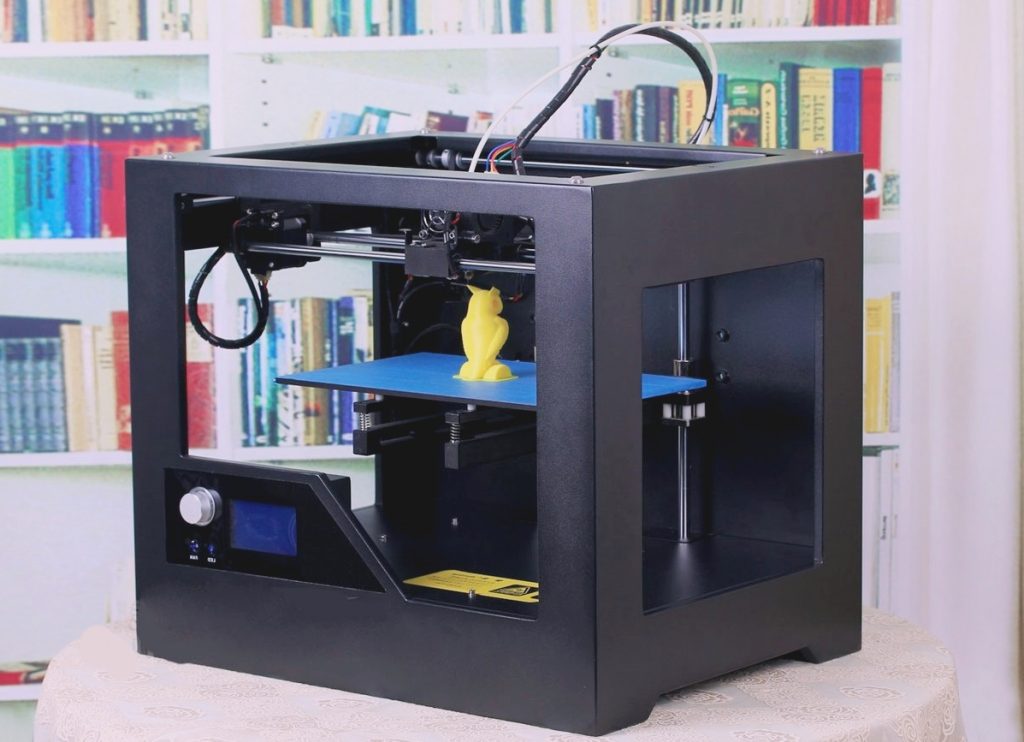
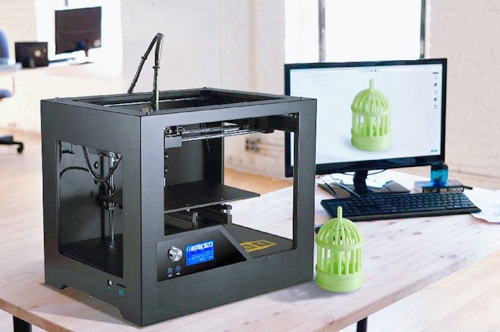
In today’s technological era, desktop level 3D printers have brought unlimited possibilities for personal creativity and small-scale production, and are becoming increasingly popular. Indeed, as a small consumer grade 3D printer, the price is very affordable, the space occupation is also very small, the DIY function is powerful, and the printing is fine, so many people choose desktop grade 3D printers.
However, for those who are new to desktop level 3D printers, they may feel a bit confused and unsure where to start. Most desktop level 3D printers on the market are based on FDM technology. In order to help beginners quickly master the usage of desktop level FDM 3D printers and smoothly start their 3D printing journey, I will provide you with a general and detailed guide for using desktop level FDM 3D printers. I hope it will be useful to you.
1、 Preparation work
Before starting to use desktop level FDM 3D printers, we usually need to do some preparation work:
① Choose a suitable location
Ensure that the printer is placed on a stable, dry, and well ventilated desktop, away from water and heat sources; Leave enough space around the printer for easy operation and maintenance.
② Understand the configuration and operation of the printer
Check if all accessories of the printer are complete, including power cords, print heads, printing platforms, material, etc. If there are any missing or damaged parts, contact the supplier in a timely manner. Carefully read the instruction manual to understand the assembly and operation methods of the 3D printer.
③ Install software
Usually, printer manufacturers provide corresponding control software, which you can download from the official website and follow the prompts to install. But before installing the software, please ensure that your computer system meets the minimum requirements of the software.
2、 Material selection
The desktop level FDM 3D printer purchased usually comes with a roll of consumables. FDM uses plastic consumables, among which the most popular are PLA and ABS materials. Of course, this does not mean that only these two materials can be printed, it mainly depends on which materials your 3D printer supports printing.
① Common desktop level FDM 3D printing materials
PLA (Polylactic Acid): an environmentally friendly, easy to print, and low-cost material suitable for most beginners.
ABS (acrylonitrile butadiene styrene copolymer): It has good strength and toughness, but requires high temperature and good ventilation during printing.
PETG (polyethylene terephthalate 1,4-cyclohexanedimethanol ester): Combining the advantages of PLA and ABS, it has good temperature resistance and chemical resistance.
② Characteristics and Applicable Scenarios of Materials
PLA is commonly used for making models, toys, household items, etc.
ABS is suitable for components that require high strength and durability, such as mechanical parts.
PETG can be used to make food contact items and outdoor products.

3、 Settings before printing
① Leveling printing platform
This is a crucial step in ensuring print quality. Use the printer control software or manually adjust the screws to keep the printing platform parallel to the nozzle. A piece of A4 paper can be used to test the distance between the nozzle and the platform. When the paper can move slightly between the nozzle and the platform but there is some resistance, it indicates that the leveling is appropriate.
② Preheating nozzle and platform
Set the appropriate preheating temperature based on the materials used. The nozzle temperature of general PLA is between 190-210 ° C, and the platform temperature is between 50-60 ° C; The nozzle temperature of ABS is between 230-250 ° C, and the platform temperature is between 100-110 ° C.
③ Loading material thread
Insert the wire into the feeding port and push it towards the nozzle according to the printer’s instructions. Pay attention to the feeding direction of the wire to avoid blockage.
4、 Create or download models and perform model slicing
① Create or download models
Before using a 3D printer, you need to have a digital model that needs to be printed. You can choose to create your own model or download an existing model from the Internet. Regardless of the method, it is necessary to ensure the integrity and printability of the model.
For beginners, it is recommended to use easy-to-use online 3D model design tools such as Tinkercad, SketchUp, etc. to create models. Users with a certain foundation can use professional 3D modeling software such as SolidWorks, Blender, etc. to create models.
② Model slicing
Import the designed 3D model into slicing software such as Cura, Simplify3D, etc. Set printing parameters in slicing software, such as layer height, fill density, printing speed, etc. Then generate G-code, which is the instruction file that the printer can recognize.

5、 The printing process
① Start printing
After completing the above preparation work, transfer the generated G-code file to the printer, adjust the position, size, and orientation of the model, preview the printing effect of the model to ensure no errors, and then click the start printing button to start printing.
② Monitor the printing process
During the printing process, it is necessary to closely monitor the operation of the printer. If any abnormalities are found, such as nozzle blockage, filament entanglement, etc., printing should be paused and dealt with in a timely manner. You can check the printing progress and temperature parameters through the printer’s display screen or connected computer to ensure the normal printing process.
6、 Processing after printing completion
After printing is completed, we still need to do some post-processing work:
① Take out the model
After waiting for the printing to complete and cool down, carefully remove the model. If the model is tightly adhered to the printing platform, a tool can be used to gently pry it up.
② Remove supporting structures (if any)
Some complex models may require the addition of support structures to ensure successful printing. After printing is complete, use tools to remove the supporting structure.
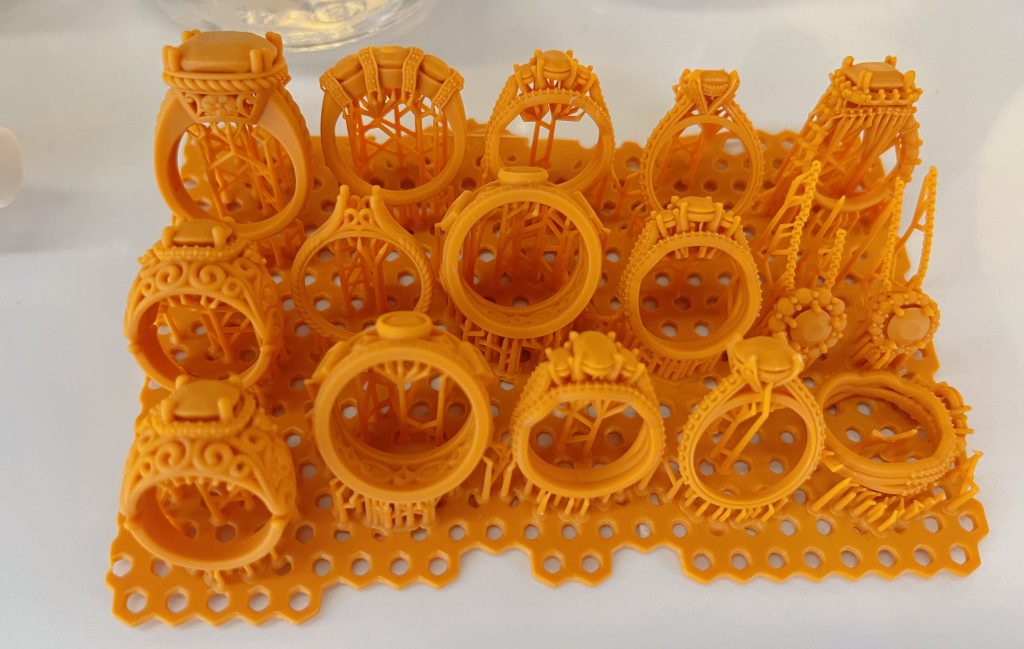
③ Post processing
Models can undergo post-processing such as trimming, cleaning, polishing, and painting, as well as coloring and coating as needed to achieve better surface quality and appearance effect.
In short, using desktop level FDM 3D printers can bring us many convenience and creative possibilities. Proper use and operation of desktop level FDM 3D printers is the key to ensuring print quality and printing effect. I hope the user guide provided in this article can help you quickly and proficiently use desktop level FDM 3D printers to create various wonderful works.